
.png)
using your voice:
portrait posters
My 1st graders finished up this lesson and absolutely LOVED it!
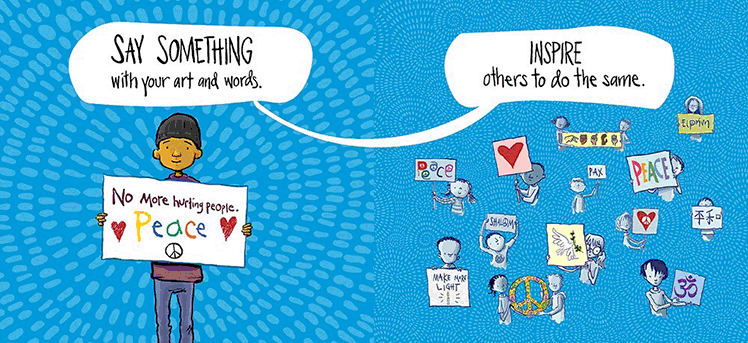
Students learned about how to use their voice with art, creating posters inspired by the book "Say Something" by Peter Reynolds and art from the artist Andrea Pippins.
HUGE shout out to Andrea Pippins - she currently resides in Sweden and was kind enough to have a
Zoom call with one of my 1st grade classes. They loved meeting her so much and were very inspired
by her and her work!
Andrea Pippins website: https://andreapippins.com/

Students started by reading the book "Say Something" by Peter Reynolds. We then explored Andrea Pippin's artwork, specifically with her posters about social justice. We looked at how she had a central idea, such as "freedom", and used her artwork to show how she felt. We explored the idea of using art as a form of expression, protest, and change within the world, and looked at the history of protest posters as well, with posters that said things such as "stop bullying" and "no more pollution". My students then worked together to make a list of all of the positive changes they would want to see in the world and their school - which was absolutely amazing to hear!! They had such bright ideas for the future :)


Press the photos for more resources.

Students then chose a speech bubble template and were told to write down a change they want to see in the world or in their school. After students wrote their words in Sharpie, they used crayons to color their speech bubble and then turned their bubble in to use later!

Press the photo for a PDF of the speech bubble options.

After our speech bubbles were made, we turned our focus to the drawing part of our project: self portraits! We started by stating what a self portrait is with some examples that included artists such as Susan Chen and Kehinde Wiley. We then dove into how to draw a self portrait, with me demonstrating how to first. I showed my kids the method that most artists use when drawing faces, using lines to map out our features on the face to be all in their right spots. We practiced how to draw lightly with our pencils so we could erase those lines when finished, then used mirrors to add our unique features so the portraits would just like us!
Students used color pencils and crayons to make their portraits.
After the portraits were finished, students cut them out plus their speech bubbles and glued everything together on a poster paper.


